
How to Push a Django App to Heroku
Heroku is one of the best places to launch your Django app once it is ready for production. Most of the heavy lifting is done for you, and aside from a few configurations, there is little you need to do on the hosting side of things. While there are other places that can meet your hosting needs, we will leave it up to you to research other methods should another service be required to meet your needs.
Heroku has a free tier that will let you launch your website at no cost. You can opt into their hobby or professional tiers which will let you allocate more resources (dyno’s as they are called by Heroku) that will allow your website to handle more traffic or backend service needs.
Before getting into the configurations, create a Heroku account. Also, if you do not have a github account, create one as well since both are necessary to launch your app. Once both accounts have been created, get ready to launch your app in the cloud.
Add Project to git
Configure global settings for github:
git config --global user.name "First Last"
git config --global user.email "example@gmail.com"
git config --global push.default matching
git config --global alias.co checkout
Initialize the Repository:
git initSave your Django project to git:
git add .
git commit -am 'initial commit'
Configure SSH, and start Repository
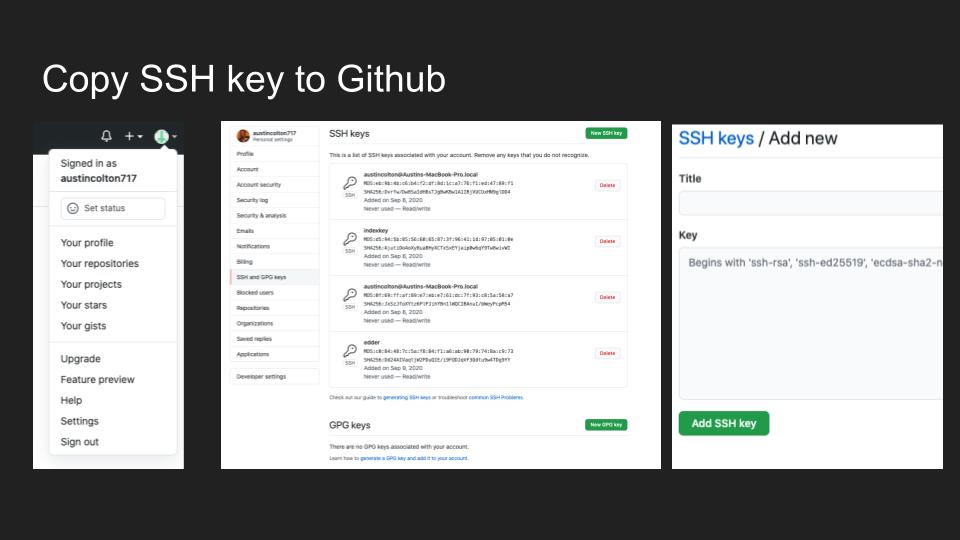
New SSH Key
mkdir ~/.ssh
cd /.ssh
ssh-keygen -t rsa
> Enter file in which to save:
> Password:
> Password (again):
ls // see files in the directory
cat id_rsa.pub
Repository Setup:
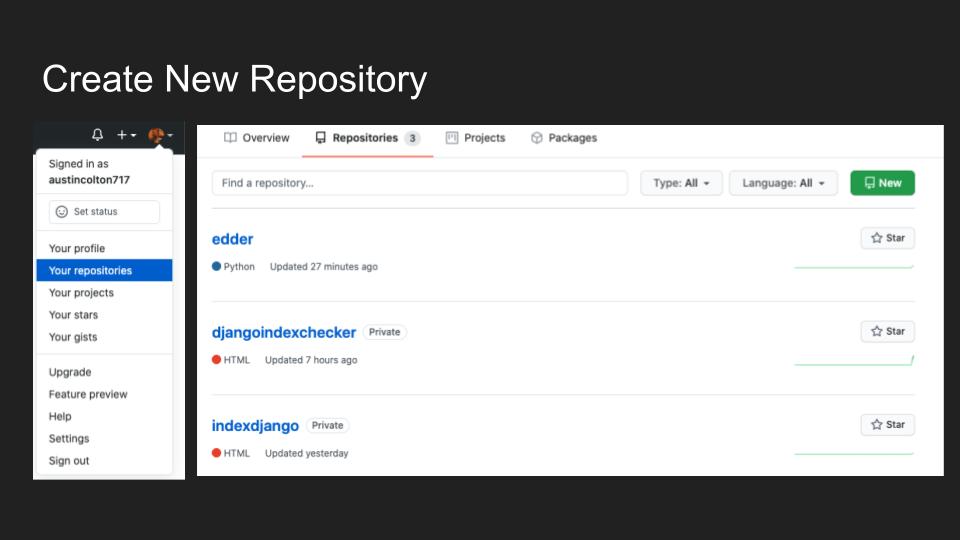

...or push an existing repository from the command line
git remote add origin https://github.com/username/test.git
git branch -M master
git push -u origin master
Save new files and changes to the repository:
git add .
git commit -am 'tag'
git push
Heroku.com Account Configuration:
Install the Heroku Toolbelt HERE if you are a Windows user.
Mac OS Command with Homebrew:
brew tap heroku/brew && brew install herokuInstall Homebrew on Mac HERE if you haven’t done so already.
Django App Changes for Heroku Adaptation
Python dependencies that are required for hosting on Heroku:
pip install gunicorn
pip install django_heroku
pip install python-decouple
pip install dj_database_url
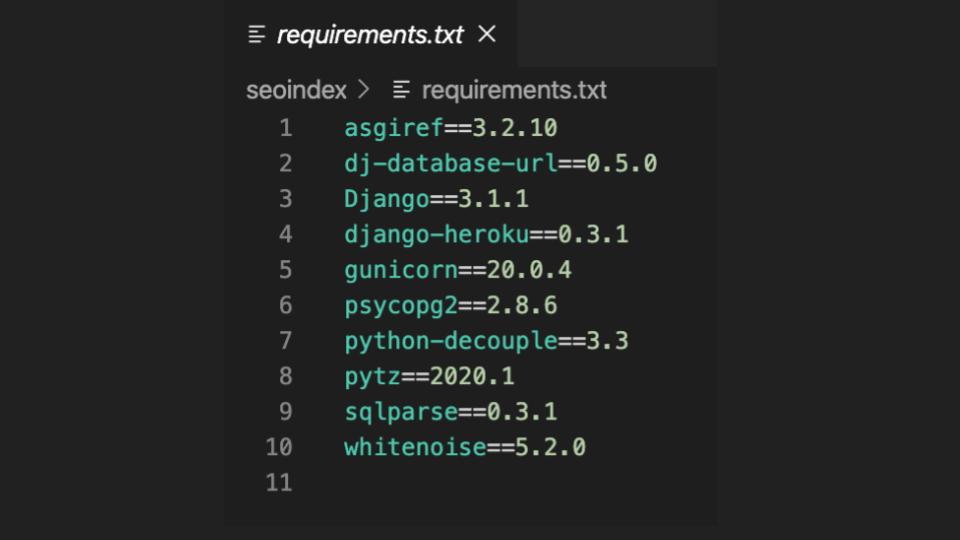
pip freeze > requirements.txt
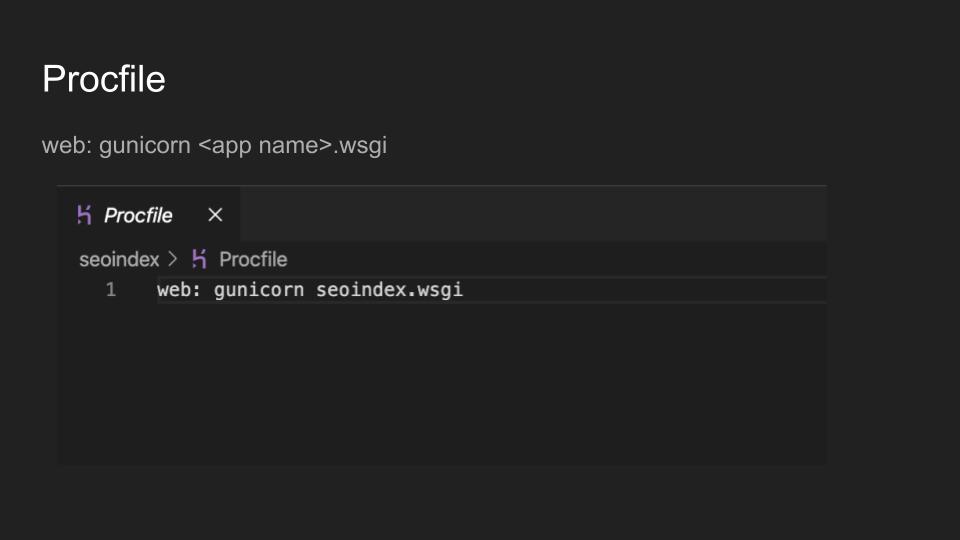
touch ProcfileImportance of the requirments.txt file
This file will list every package you have installed and the specific version. This allows Heroku to create an environment for your app with everything you specifically need. Although not done by default, you can also specify the exact version of python3 you would like to use.
Configure the Procfile:
Update settings.py in your Django Project
# Add to the top of the file
import django_heroku
import dj_database_url
from decouple import config

MIDDLEWARE = [
     ....
     'whitenoise.middleware.WhiteNoiseMiddleware',
]

STATIC#
STATICFILES_STORAGE = 'whitenoise.storage.CompressedManifestStaticFilesStorage'

# at the very bottom of the file insert
django_heroku.settings(locals())
Push Django App to Heroku:
Before moving forward, ensure all changes are pushed to your git repository.
heroku login
heroku keys:add
     chose file: y
heroku create
     https://mighty-thicket-244343.herokuapp.com/
heroku rename newappname
     https://newappname.herokuapp.com/
Moment of truth….
git push heroku master
or
git push heroku main:main
Note: By default, git will create the main branch. You can change this to master or you can push another branch by calling the name in the command as shown above (main:main)

Troubleshooting:
rename git branch with -mv flag:
git branch -mv origin master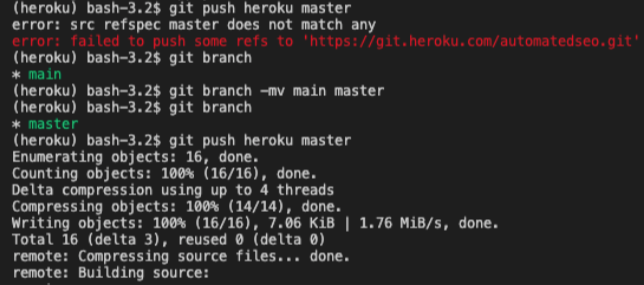
Official Heroku Documentation for Python and Django apps can be found here: